X-Press It Adhesive Sheet fun
So I left you off last post with my favorite Sketchbook and a project I had started. Here is what I did with the image when I was done.
I have done this micro bead cover-all once before on a Christmas card. Although it was a heavy card when it was done, I loved the results. I thought I would try it again for this project. Micro beads are tiny little hole-less beads that can come in a variety of colors. I have had some in my stash for a while and thought I would use some up. Using clear ones make any colored image glimmer.
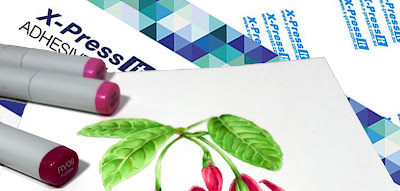
I cut the image down to the size I wanted for the frame I was going to use. Using an X-Press It Adhesive sheet I covered the front of the image. The adhesive sheet is double-sided so one side sticks to the project and you can apply glitter or micro beads or any other fun thing to the exposed sticky side. This Adhesive sheet work well for laminating too. Because of the strong hold I knew it would hold all those tiny beads.
In short all you do is peel one side and stick to the desired surface....then peel the other side and apply the glitter or micro beads.
Here is the project finished. So simple and gives the image that little somethin' for a wow. Whether you are doing a tiny project or a big project Copic has them in all sorts of sizes.
Close up
You can find all the sizes including a roll of the product HERE at Imagination International Inc.
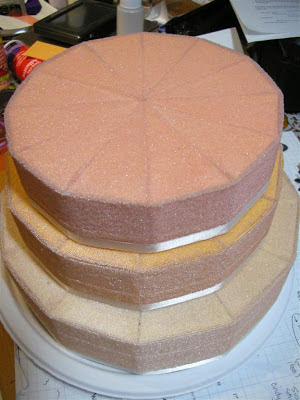
I went back into the deep depth of my blog (scary actually), and found some other projects that would have been perfect for this project! Have you ever tried adding sand to a project? A lot of glues won't work well...but I bet the Adhesive sheet would have been fabulous!
Here are two more micro bead projects for inspiration too
What are some projects you have done with Adhesive Sheets?
I want some more fun ideas to store up in my brain for next time.
Until next time!
Jenn Dove


Comments